


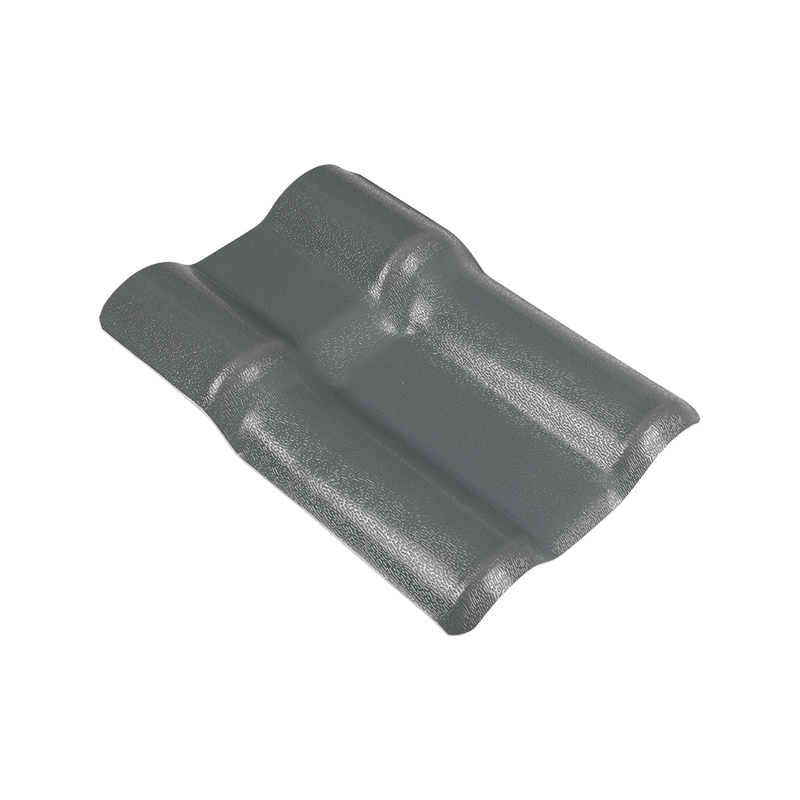
Illustrated guide for installing resin tiles (for construction personnel with experience in color steel tiles)
1. Preliminary preparation
- Skeleton requirements:
Columns: 60/80 square tubes
Purlin: 40×60mm square tubes or wooden squares (lateral spacing 660mm)
The ridge line is 170-180mm away from the first purlin
- Base treatment:
The roof needs to be waterproofed in advance
The steel structure needs to be treated with anti-corrosion
2. Main tile installation points
- Paving direction:
Install from one side of the roof frame
Double-slope roofs need to be paved synchronously and symmetrically
- Size control:
Eaves protrude 150mm (fine-tunable)
Length adjustment range <100mm, the part beyond the ridge needs to be cut off
The first ridge tile needs to be cut in half for installation
3. Fixing specification
- Special accessories:
Special hole expansion screws for resin tiles
Matching waterproof fastening kit
- Precautions:
Screws should not be too tight (to avoid deformation/cracking of tiles)
Reserve space for thermal expansion and contraction
Tip: Although the process is similar to that of color steel tiles, the physical properties of resin tiles are different, so special attention should be paid to the fixing method and expansion space processing. It is recommended to conduct a small-scale trial installation for the first time.


")
")

 Email:
 Phone:
 Adress: