



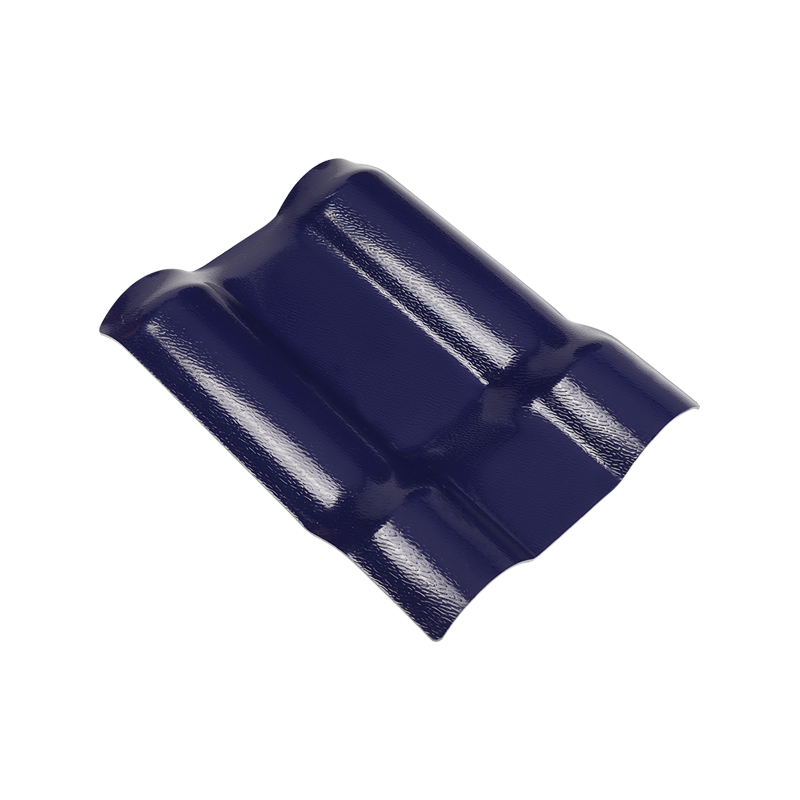
Some decorative surfaces need to look interesting and still hold up to everyday use. Resin-based tiles often fill that role. They can take on different colors, patterns, and surface effects while remaining practical for ordinary settings. Appearance is only part of the story. The materials chosen, the way the mixture is put together, the molding step, how the tiles cure, any finishing that follows, and the checks at the end all affect both how the tiles look and how they behave over time. Keeping the production steps steady from one batch to the next helps the results stay more even. Resin Tiles come out of a linked series of stages that begin with the raw materials and finish with pieces that have been looked over and prepared for packing.
Selecting Raw Materials That Support Appearance and Longer-Term Use
The base resin decides a lot about clarity, strength, and how the tile will age. Pigments have to mix into that resin properly so the color stays even instead of forming streaks or dull patches. Decorative particles or layered effects need to work with the resin as well, otherwise they may shift or leave weak spots once the tile hardens. Each design has its own combination of these parts. Looking over the materials before they go into production lowers the chance that one batch will stand out from another in color or in how it holds up later.
Preparing the Mixture So Color and Texture Stay Even
Getting the amounts right comes first. Resin, pigments, and any extra components are measured according to the formula for that particular design. After that the mixing has to be thorough. Color and particles need to spread all the way through the mass. When mixing is incomplete, streaks show up, air stays trapped, or the texture turns out patchy. Those problems often become obvious only after curing. Sticking to the same mixing order and timing helps keep the material predictable when it reaches the molds.
Shaping the Tiles with Molds and Building the Surface Design
Molds set the size of each tile, the shape of the edges, and the feel of the surface. Some designs need a smooth face. Others call for texture or a pattern. Transparent areas, layered colors, and embedded decorative elements come from the way the mixed material is poured and settles inside the mold. Pouring too fast or unevenly can leave marks on the surface, small air pockets, or differences in thickness. Care at this point means fewer tiles fail the later visual and size checks.
Letting the Tiles Cure Properly and Completing Finishing Steps
Curing is when the resin hardens and becomes stable. Temperature and time have to stay in the range that suits the formula being used. If conditions drift, the tiles may develop internal stress, fail to harden fully, or show surface flaws. After curing, some designs still need work. Extra material may be trimmed, the face may be polished, or the edges may be treated so the tile matches the planned look and feels consistent when handled.
Checking Finished Tiles Before They Leave for Packing
Once curing and any finishing are done, the tiles are examined one by one. Surfaces are checked for marks or flaws. Color is compared for evenness. Dimensions are measured. Overall appearance is judged against the expected standard. Sometimes extra checks look at how the tile is likely to perform in real use. Pieces that do not meet the standard are set aside. Doing these inspections the same way each time helps the tiles that go out match what was agreed at the start.
| Production Stage | How It Affects the Finished Tile | What Usually Needs Attention |
|---|---|---|
| Raw material selection | Sets the base for look and durability | How well resin, pigments, and additives work together |
| Mixture preparation | Helps color stay even and reduces internal flaws | Accurate measuring and full blending |
| Molding and design formation | Decides shape, texture, and surface character | Steady pouring and clean molds |
| Curing and finishing | Builds hardness and final surface quality | Stable conditions and careful edge or face work |
| Final inspection | Catches pieces that fall short of the standard | Surface, color, size, and overall appearance |
Why the Full Production Sequence Matters for Dependable Tiles
Material choice, mixture preparation, molding, curing, finishing, and final inspection each add something necessary. No single step carries the whole load. The quality of the finished tiles comes from how these stages connect and support one another. When the sequence is handled carefully, the tiles tend to look more consistent and perform more reliably once they are in place. Anyone reviewing a supplier often looks at how complete the manufacturing process is, how clear the quality standards are, whether different design requests can be handled, and whether the specific needs of a project can be met.
Hangzhou Chuanya Building Materials Co., Ltd develops practical building material solutions and remains available for further product inquiries.

 Email:
 Phone:
 Adress: