


What Are Easy-to-Install Roofing Materials?
Easy-to-install roofing materials are designed to simplify and speed up the process of roof installation, making them accessible to DIY homeowners and professional contractors alike. These materials are typically lightweight, modular, and come with user-friendly features such as interlocking edges or pre-drilled holes. The goal is to reduce labor time, minimize specialized tool requirements, and ensure a secure, weatherproof roof with less effort.
Common Types of Easy-to-Install Roofing Materials
1.Metal Roofing Panels
Lightweight and durable, metal panels often come in large sheets with snap-together edges or screw-on systems that speed up installation.
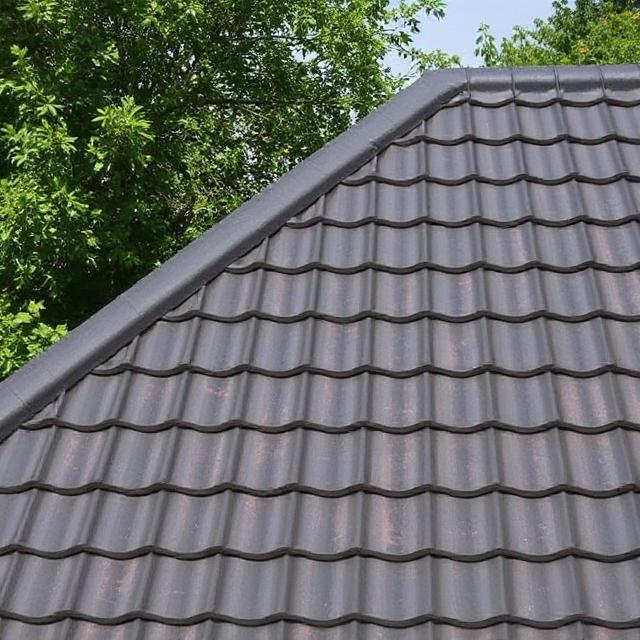
2.Resin or Plastic Roof Tiles
Made from synthetic materials, these tiles are easy to handle, often interlock, and resist weather and corrosion.
3.Stone-Coated Metal Tiles
These combine the aesthetics of traditional shingles with the lightweight, modular design of metal roofing for quick laying.
4.Bitumen Corrugated Sheets
Flexible and easy to cut on site, these sheets are ideal for non-standard roof shapes and quick repairs.
5.Composite or Recycled Panels
Designed in modular panels or tiles that clip together, these eco-friendly options allow fast installation without heavy tools.
How to Install Roofing Materials Without Professional Help
Step-by-Step Guide to Installing Lightweight Roof Tiles
Renovating your own roof can seem daunting—but modern lightweight roofing materials make DIY installation both achievable and efficient. This guide walks you through preparing, executing, and finishing a roof project using lightweight tiles suitable for DIYers, ensuring safety, speed, and strong results.
Why Choose Lightweight Roof Tiles for DIY Projects?
Lightweight tiles offer key advantages that simplify DIY installation:
Ease of Handling: Reduced weight allows one or two people to lift and position tiles easily.
Speed of Installation: Modular or interlocking designs help you align tiles quickly with fewer cuts.
Safety and Accessibility: Lightweight materials reduce structural strain and minimize the need for heavy equipment.
Precision and Fit: Pre-formed edges or matching profiles improve alignment and reduce leaks.
Step-by-Step Installation Guide
1. Preparation & Planning
Measure and Sketch: Accurately measure roof dimensions and draw a layout plan. Mark eaves, ridges, and ventilation needs.
Inspect the Substructure: Ensure rafters, battens, or decking are sound, clean, and properly aligned. Repair or reinforce as needed.
Ensure Waterproofing: Install or check underlayment and flashing at valleys, chimneys, and edges for moisture protection.
2. Setting the Framework
Install Battens or Support Rails: For lightweight tiles, secure support rails or battens parallel to the eaves, aligned with tile edges.
Maintain Proper Spacing: Leave a small gap for thermal expansion to prevent buckling or cracking later.
3. Aligning the First Course
Start at the Edge: Begin installation at the eave or lower edge. Place the first row with slight overhang to direct water away.
Use a Chalk Line: This helps to line up the first row—and all subsequent rows—perfectly horizontal.
4. Laying Subsequent Rows
Overlap Consistently: Tiles should overlap properly row by row to maintain waterproofing and wind resistance.
Alternate Placement: Stagger joints to avoid a straight vertical seam, which improves structural integrity and appearance.
5. Securing the Tiles
Use the Right Fasteners: Lightweight roof tiles often come with recommended screws or clips—use only those.
Proper Tightness: Fasten securely, but avoid over-tightening. This prevents cracking and allows room for thermal movement.
Ventilation Gaps: Make sure there's some airflow between tiles and underlayment to prevent heat build-up and moisture issues.
6. Finishing the Roof
Ridge and Hip Caps: Apply special ridge tiles or caps, fitting them snugly to prevent water entry.
Edge Flashing: Secure appropriate edge treatments or drip edges to manage rainwater runoff.
Clean & Inspect: Brush off debris, check for loose tiles or exposed fasteners, and test for waterproofing around fixtures and edges.
Visual Summary Table
| Step | What to Do |
| 1. Preparation | Measure roof, inspect structure, prep underlayment |
| 2. Framework | Install battens or rails, ensure proper spacing |
| 3. First Row | Lay first tiles with overhang; use chalk line |
| 4. Additional Rows | Overlap, stagger joints, follow panel profiles |
| 5. Secure Tiles | Attach with correct fasteners; don't overtighten |
| 6. Finalize & Inspect | Install ridge caps, flashings, clean, and test |
Tips for Success
Trial Fit: Lay a few tiles before affixing to confirm fit and alignment.
Work in Sections: Install in manageable segments to maintain quality and control.
Weather Awareness: Avoid working in wet or windy conditions for safety and better results.
Safety First: Always use protective gear—gloves, goggles, and slip-resistant shoes.
Regular Checks: Revisit tiles in the first summer after installation to ensure fasteners remain secure and surfaces remain intact.
Why Choose ChuanyaBuilding for Your Roofing Needs
For those seeking lightweight, easy-to-install roof tiles paired with dependable support, ChuanyaBuilding is an ideal manufacturing partner. With over a decade of dedicated experience, ChuanyaBuilding specializes in high-quality resin-based and stone-coated lightweight tiles, designed for efficient installation and long-lasting performance. Their modern, large-scale factory ensures consistent supply and precision engineering tailored to your project's needs.
Build with ConfidenceChuanYa Building is more than a supplier—we're your partner in quality construction. |
|
Quality & Innovation We provide pioneering materials that blend craftsmanship with durability. |
One-Stop Solution From procurement to construction, we offer comprehensive support. |
Expert Guidance Our team is here to help you choose the right materials for your project. |
As a trusted factory, ChuanyaBuilding not only provides superior roofing materials, but also supports customers with expert assistance, customizable options, and streamlined logistics. Whether you're a DIY enthusiast or a professional contractor, partnering with ChuanyaBuilding ensures access to lightweight, aesthetically versatile, and easy-to-install roofing solutions designed for success—delivered right when you need them most.


")
")

 Email:
 Phone:
 Adress: