



Why Damaged Roof End Caps Should Not Be Ignored
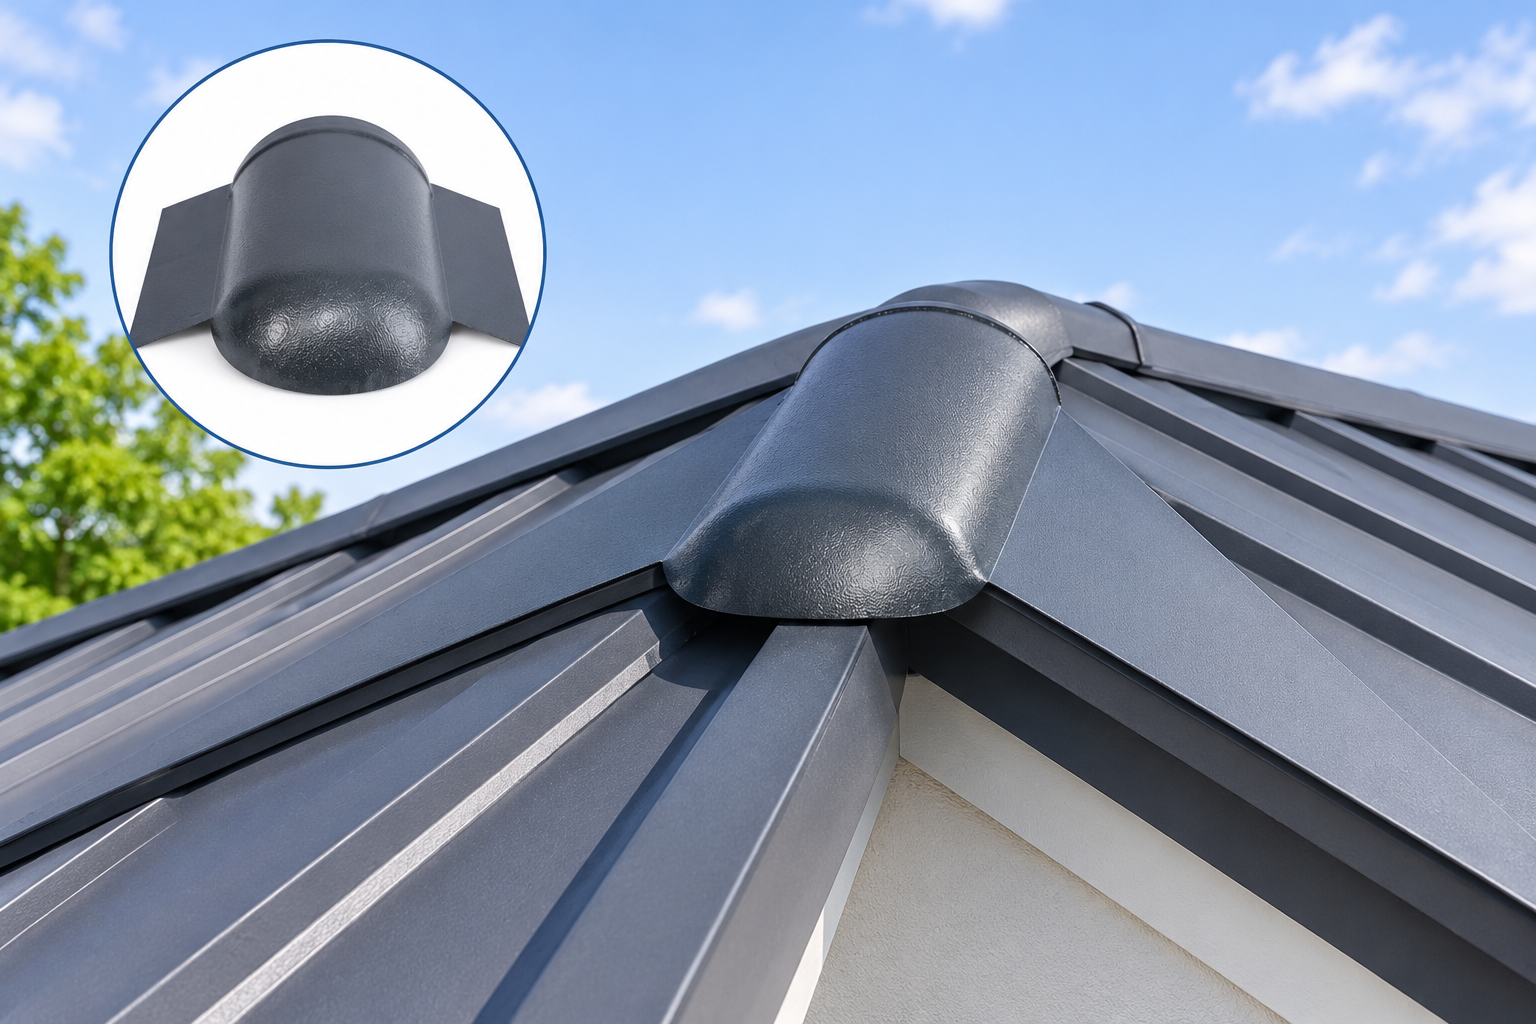
Roof end caps sit at terminations of hips and similar ridges where panel edges and flashings meet the open weather. Sun, rain, wind-driven debris and thermal movement act on those small pieces continuously. A crack, a bent corner or a missing fastener can open a path that was closed when the roof was new. Once the cap no longer covers the designed area, cut edges, underlaps and connection zones are exposed again to wetting and to mechanical knocks during maintenance.
Loose or deformed components also shift under wind load. Gaps appear along the perimeter of the cap; water follows those gaps into the assembly; the original covering arrangement stops doing the job it was installed for. Regular inspection from the ground where safe, or during planned roof access, is the practical way to notice movement, staining or missing pieces before larger repairs are needed. Waiting until interior stains appear usually means the problem has already moved past the cap alone.
Signs That Point Toward Replacement
Visible Cracks or Breakage
Cracks and broken sections interrupt the continuous cover over the roof end. Even a narrow split can channel water under the piece. Broken corners leave the same openings the cap was meant to close. When the material can no longer span the end as a single shield, replacement is more reliable than repeated patching.
Deformation Away from the Intended Profile
Bent or twisted caps no longer follow the panel ribs and flats. Daylight under the edge, rocking when pressed by hand during safe inspection, or obvious mismatch with the hip line all indicate that the fit is lost. Forcing a distorted piece back into place rarely restores lasting contact.
Loose Installation and Movement
Caps that rattle, lift at corners or show elongated fastener holes have lost secure attachment. Movement widens gaps with every wind cycle. Retightening may help if the metal is still sound and holes are not worn; otherwise a new Roof End Cap with correct fixings is the clearer route.
Corrosion or Surface Deterioration
Rust, coating failure or advanced surface damage weakens thin metal and spoils appearance. Perforation turns the cap into a partial cover. Deterioration that has reached the base metal or that prevents a sound seal at edges supports replacement rather than cosmetic touch-up alone.
Water Entry Near the Roof End
Damp stains, corrosion trails or interior signs near the hip termination can implicate the cap, its fit or the surrounding flashings and seals. The cap should be inspected together with adjacent details so that replacement addresses the true path of entry rather than only the most visible part. Roof Cap End problems and upstream hip flashing faults often appear together and should be assessed as a set.
Problems That Follow from Leaving Damage in Place
Exposed end sections take rain and debris directly. Gaps around connections grow as wind works loose edges. The roof line looks incomplete or neglected, which matters on elevations in plain view. The original end-covering arrangement loses effectiveness, so other components may see more moisture than they were detailed for. Related issues—wet insulation, stained soffits, corrosion on cut panel edges—can develop when water has a standing invitation at the hip foot. Early replacement of a failed cap is usually smaller work than repairing secondary damage later.
Choosing a Hip End Cap as a Replacement Component
Coverage Designed for Compatible Hip Ends
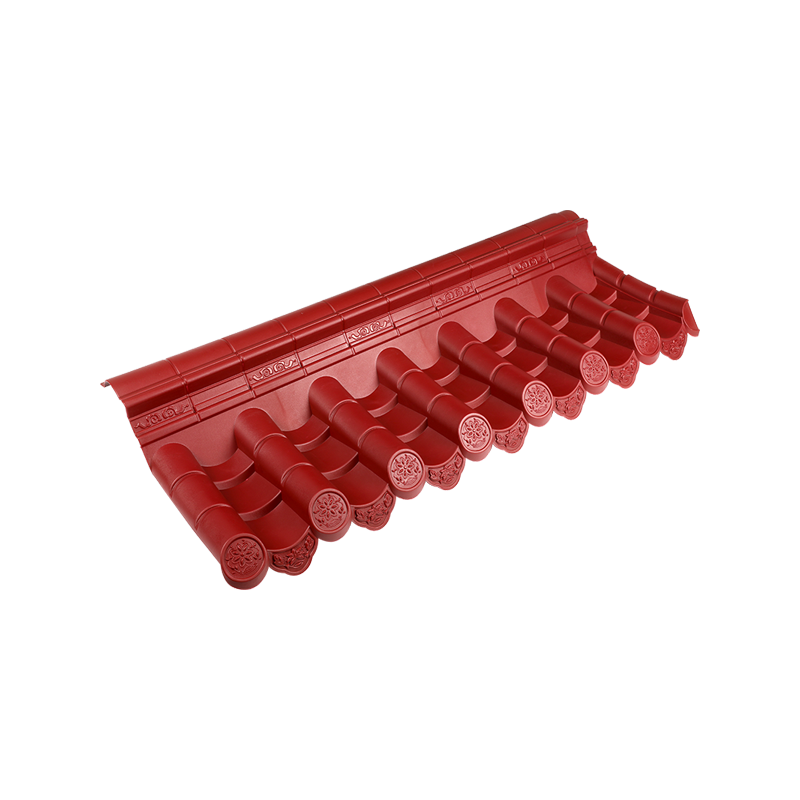
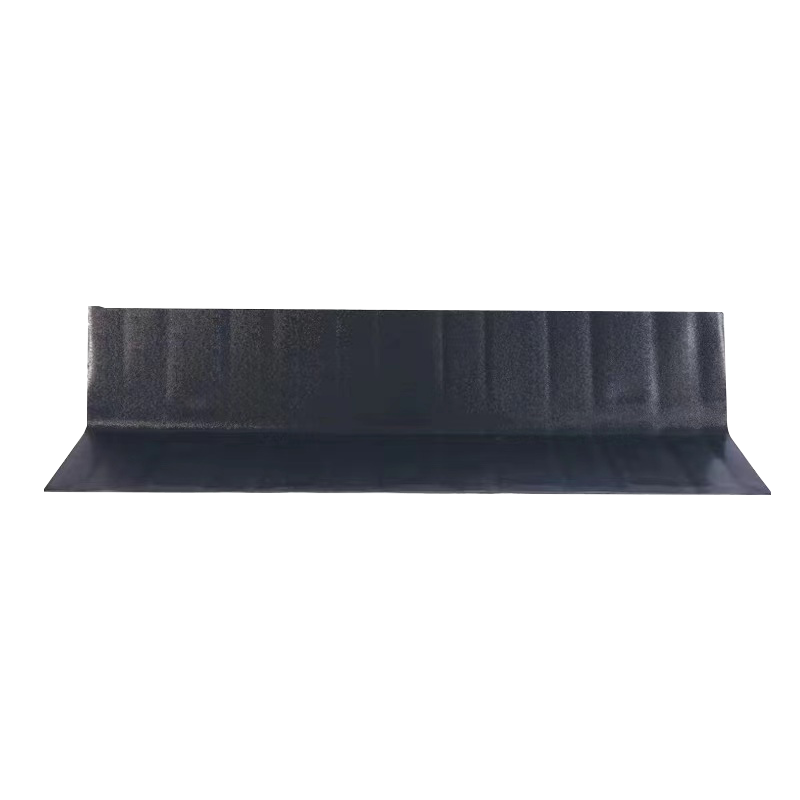
Replacement pieces intended for hip end coverage restore the shield over exposed terminations on matching structures. The goal is to put continuous metal back over the area that weather had reached through the damaged part.
Profile Matching to the Existing System
Shape and dimensions must align with the installed panels and hip geometry. A near-miss profile leaves tunnels beside the ribs. Measuring the old cap where it still holds shape, and confirming panel type, reduces trial-and-error on the roof. A Hip Cap for Metal Roof replacement succeeds when that match is confirmed before order and installation.
Restoring Protective Coverage
Once fitted and sealed according to the system method, the new cap again limits direct weather on the end zone. Protection depends on full seating and correct fasteners, not only on the presence of a new part on site.
Clean Appearance After the Work
A sound, colour-coordinated cap restores a finished look at the hip termination. Mixed patches and sealant blobs are no longer the main visual feature of the end detail.
Practical Use in Replacement Work
When dimensions and fixing layout match the existing roof, the piece is suitable for swapping out damaged or life-expired caps without redesigning the whole hip. Access, safety and compatibility with remaining flashings still govern how the job is planned. Metal Hip Roof Cap selection for repair follows the same profile rules as selection for new work.
What to Check When Replacing a Roof End Cap
Original Profile and Dimensions
Record panel profile, approximate length and width of the old cap, and how it met the hip slope. Photographs and measurements taken before removal help when the old piece is too damaged to use as a template.
Condition of Surrounding Panels and Connections
Look for lifted panel ends, failed sealant, corroded fasteners and damaged hip flashings. Replacing only the cap while leaving active leaks next to it will not dry the assembly.
Compatible Shape and Size
Order a replacement that matches the geometry, not a generic cover. Confirm colour if appearance continuity matters on the elevation.
Fixing Method and Sealing Details
Follow the roofing system's guidance for fastener type, spacing and sealant where required. Improvised fixings can split thin metal or create new leak paths.
Positioning and Security After Installation
The new cap should sit fully on the designed bearing surfaces, cover the exposed end and resist lift under hand pressure after fixing. A final check for gaps along the perimeter closes the job.
Inspection Findings and Typical Actions
| Observation | Likely concern | Typical direction |
|---|---|---|
| Cracks or broken corners | Loss of continuous cover | Replace; do not rely on sealant alone |
| Bent or twisted shape | Poor contact with profile | Replace with correct profile match |
| Loose or missing fasteners | Movement and opening gaps | Refix if metal sound; else replace |
| Advanced corrosion | Weak metal; possible holes | Replace; check adjacent components |
| Water signs at roof end | Failed cap and/or nearby details | Inspect system; replace cap as needed |
| Mixed or temporary patches | Incomplete long-term cover | Plan proper replacement |
Inspection Habits That Catch Problems Early
After severe wind or hail, hip ends deserve a deliberate look. Seasonal checks from safe viewpoints can spot missing caps or bright uncoated edges. Maintenance staff should report movement or new stains near hips so that small replacements stay small. Documentation of profile and colour at installation shortens later procurement when a single cap fails years afterward.
Restoring End Coverage When Caps No Longer Serve
Damaged roof end caps should be replaced when cracks, deformation, looseness, corrosion or related water entry show that the piece no longer covers and protects the termination. Matching profile, checking surrounding details and fixing to the system method restore the intended end arrangement. Hangzhou Chuanya Building Materials Co., Ltd. produces metal roofing accessories including hip end caps for compatible structures. Review of existing panel profile, end geometry and installation requirements supports selection of replacement caps that close exposed hip ends and return a coherent finish to the roof.

 Email:
 Phone:
 Adress:
